
Deploy Sveltekit with nodejs + Github CICD:
Smoother than Vercel but complicated indeed

I will teach you how to deploy sveltekit on a vps with nodejs + github CICD. You probably won’t make it following this tutorial. But you might if you have had some experience and really understood what I’m getting at.
Idea:
having a machine (builder) somewhere that listens for code change in git repo.
On change, the builder rebuilds the project with an array of secret variables you gave it
Builder sends (scp) the build to the production server.
Builder SSH into the production server
Builder executes restart on the server.
Note: Of course there could be a few seconds of down time inter-deployment— not so elegant. But you have no user so whatever bro. I also know how to deploy with no down time, but we are in amateur land here.
Steps:
I. Set up vps env + ssh credentials (production server)
II. Init a sveltekit project (code + repo)
III. configure github and write yml. (repo + secrets + free builder on github)
IV. ship and ship
I. Setting up vps:
generate a pair of keys (Generate SSH Key Pair Online)
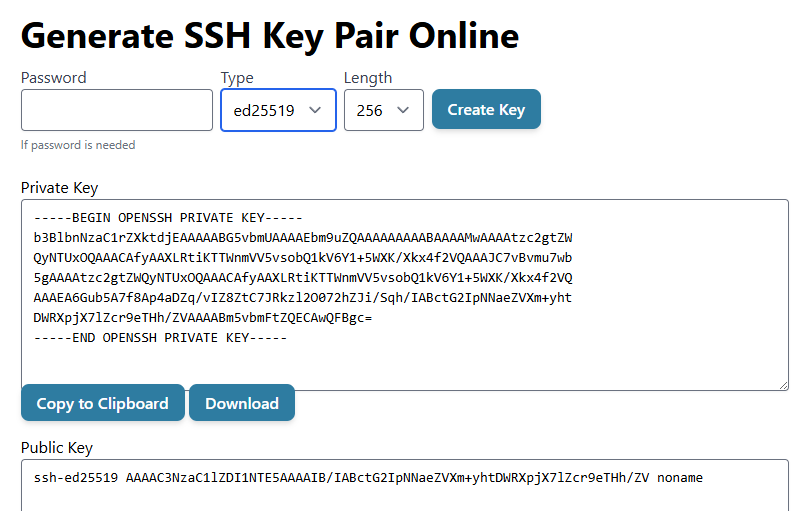
I’m not using these keys you should not disclose your keys to anyone..
put public key on vps in a line in the file:
/root/.ssh/authorized keys
ssh-ed25519 AAAAC3NzaC1lZDI1NTE5AAAAIB/IABctG2IpNNaeZVXm+yhtDWRXpjX7lZcr9eTHh/ZV nonameNote I’m using a Linode server with root access. AWS or any other VPS should have some file in some directory for saving entries of public key like this.
In this Linode context, the meaning of this file is:
A request with the private key that corresponds to this public key can connect to this vps as root user.
The private key will be saved in your github action secret, as illustrated in section III
install nodejs in vps
follow this site: install nodejs or nodejs via nvm, which I use in this tutorial
Use
node --versionto verify successdownload and start nginx in vps
sudo apt install nginxand maybe run
sudo systemctl enable nginxI’m not even sure bro. Ask Claude and see what happens if you’re stuck.
open up application firewall port (22, 80)
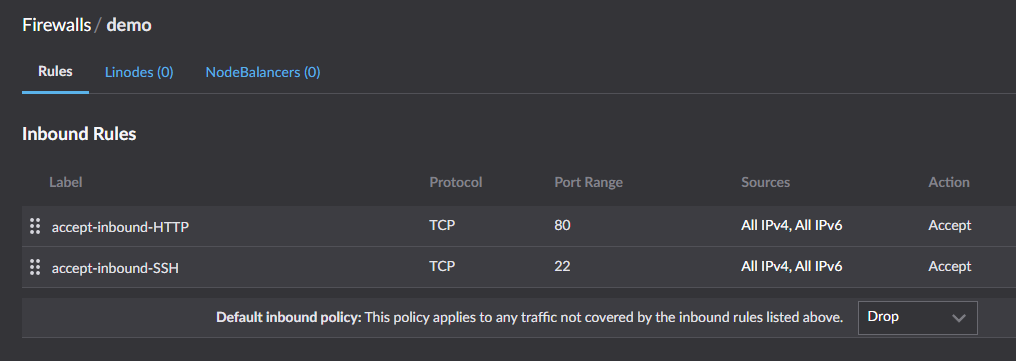
This is to accepting incoming HTTP request at port 80, the default. HTTPs is a bit different so fuck that.
quite simple on linode. Outta be easy too on digital ocean, lightsail, EC2, Azure and shit
22 is opened for us to connect to it.
Reverse proxy 80 to 0.0.0.0:3000
Reverse proxy is a bad name and it does not say anything. It is there to confuse you. Congrats.
What you want is every request that goes to port 80 should be redirected to this vps’s localhost (0.0.0.0:3000) lol. I’d like to call it request redirect.
Later we’re gonna run this sveltekit server at 3000
Add this block to your nginx site conf at
/etc/nginx/sites-enabled/defaultor is it site-available? I forgot. Fuck this. Just ask Claude bruv.
This achieves the reverse proxy. Why is reverse proxy important? Actually you can skip this shit by opening 3000 on firewall too. You’ll learn it’s all good. You’ll learn when it is necessary. Given you have no user there ain’t no probelm.
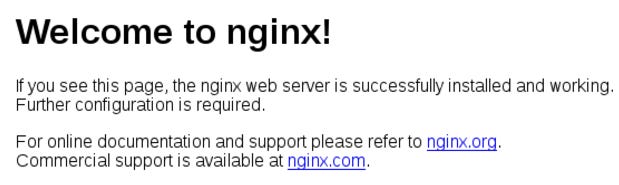
location / {
    proxy_pass http://0.0.0.0:3000;
    proxy_set_header Host $host;
    proxy_set_header X-Real-IP $remote_addr;
    proxy_set_header X-Forwarded-For $proxy_add_x_forwarded_for;
    proxy_set_header X-Forwarded-Proto $scheme;
}
Verify that nginx is running at your ip: say 3.124.5.66 by typing it into your browser you should see this page.

Create a daemon (it will not work for now)
Face your inner demon brotha!
A daemon is just a process that can is kept alive like the machine itself.
Create a file called
my-demo.serviceat /etc/systemd/system/[Unit] Description=Demon App or whatever After=network.target [Service] Type=simple User=root WorkingDirectory=/root/demo ExecStart=/root/.nvm/versions/node/v20.17.0/bin/node build Restart=always RestartSec=10 [Install] WantedBy=multi-user.target


II. Setting up sveltekit:
initiation: Creating a project • Docs • Svelte
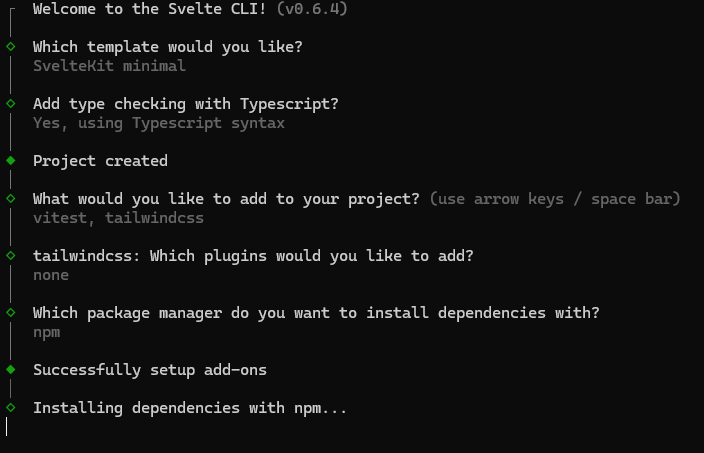
change adapter to node
run this to install the adaptor
npm i @sveltejs/adapter-nodemodify the import in
svelte.config.js fromimport adapter from '@sveltejs/adapter-auto';to
import adapter from '@sveltejs/adapter-node';then run from root directory
npm run buildthen
node buildto verify it’s runnable.
You should get:
Listening on 0.0.0.0:3000

III. Configure github and write action .yml
Get a github repo like this one of mine
push it up there (see tutorial)
ssh into your vps and clone the repo there
Then cd into
demo (assuming it is called demo)run
npm installand then maybe
npm run buildto see if it can run on the vps lol
now if you start the daemon we created before it should be running ok:
sudo systemctl start my-demodemo because the service is called my-demo. Don’t confuse the directory with the daemon service. I don’t know who you are and what you know. I’m just writing about all the random things that confuse people here.
Write the .yml for github action
create this file file under .github/workflows directory
.github/workflows/node.ymlAgain, supposing the project directory is called
demoso this is
demo/.github/workflows/node.ymlwe could have:
name: Deploy Svelte to Server

on:
  push:
    branches:
      - node

jobs:
  build-and-deploy:
    runs-on: ubuntu-latest

    steps:
      - uses: actions/checkout@v4

      - name: Setup Node.js
        uses: actions/setup-node@v4
        with:
          node-version: '20'

      - name: Install dependencies
        run: |
          npm install

      - name: Build project
        run: npm run build

      - name: Install SSH key
        uses: shimataro/ssh-key-action@v2
        with:
          key: ${{ secrets.SSH_PRIVATE_KEY }}
          known_hosts: unnecessary
          if_key_exists: replace

      - name: Adding Known Hosts
        run: ssh-keyscan -H ${{ secrets.SSH_IP }} >> ~/.ssh/known_hosts

      - name: Deploy to server
        run: |
          scp -r build/ root@${{ secrets.SSH_IP }}:/root/demo/
          ssh root@${{ secrets.SSH_IP }} 'nohup systemctl restart demo &'
What this does is:
only react to the node branch (set up any branch you’d like)
use node 20 to build
build
ssh into the machine we rent at linode
Not sure if it is necessary to add known hosts lol
deploy is really just sending the newly built
builddirectory to the desination, which is/root/demoand then restarting that our daemon process without waiting (nohup means no waiting innit?)
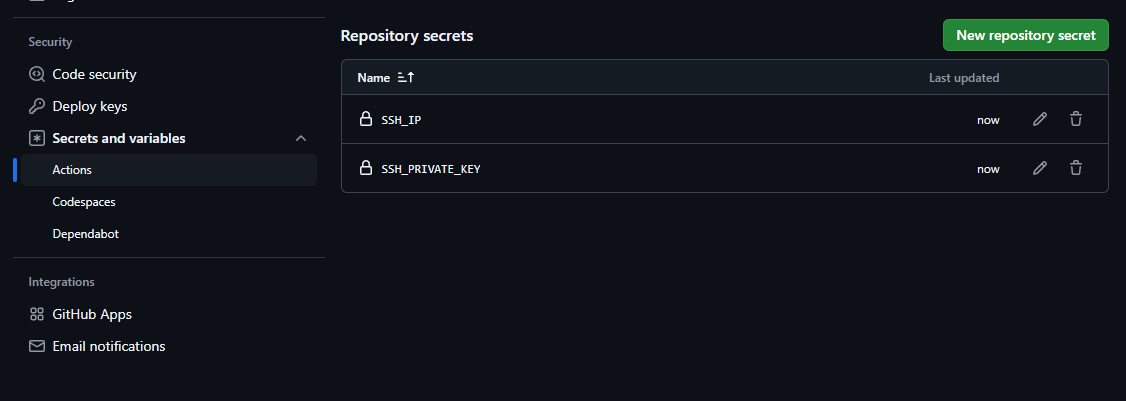
Note that SSH_PRIVATE_KEY and SSH_IP both should be in your github secrets.
Like this:
In our story, the SSH_IP is
3.124.5.66and the SSH_PRIVATE_KEY is
-----BEGIN OPENSSH PRIVATE KEY-----
b3BlbnNzaC1rZXktdjEAAAAABG5vbmUAAAAEbm9uZQAAAAAAAAABAAAAMwAAAAtzc2gtZW
QyNTUxOQAAACAfyAAXLRtiKTTWnmVV5vsobQ1kV6Y1+5WXK/Xkx4f2VQAAAJC7vBvmu7wb
5gAAAAtzc2gtZWQyNTUxOQAAACAfyAAXLRtiKTTWnmVV5vsobQ1kV6Y1+5WXK/Xkx4f2VQ
AAAEA6Gub5A7f8Ap4aDZq/vIZ8ZtC7JRkzl2O072hZJi/Sqh/IABctG2IpNNaeZVXm+yht
DWRXpjX7lZcr9eTHh/ZVAAAABm5vbmFtZQECAwQFBgc=
-----END OPENSSH PRIVATE KEY-----
You can login to github to configure them or run commands, github action will be able to read them. The entries should be visible in you github repo UI.
OK I think this is enough. It should work.
I deployed mine at https://mywords.io, there is some https nginx tweaks here but not essential.
Thanks for reading.